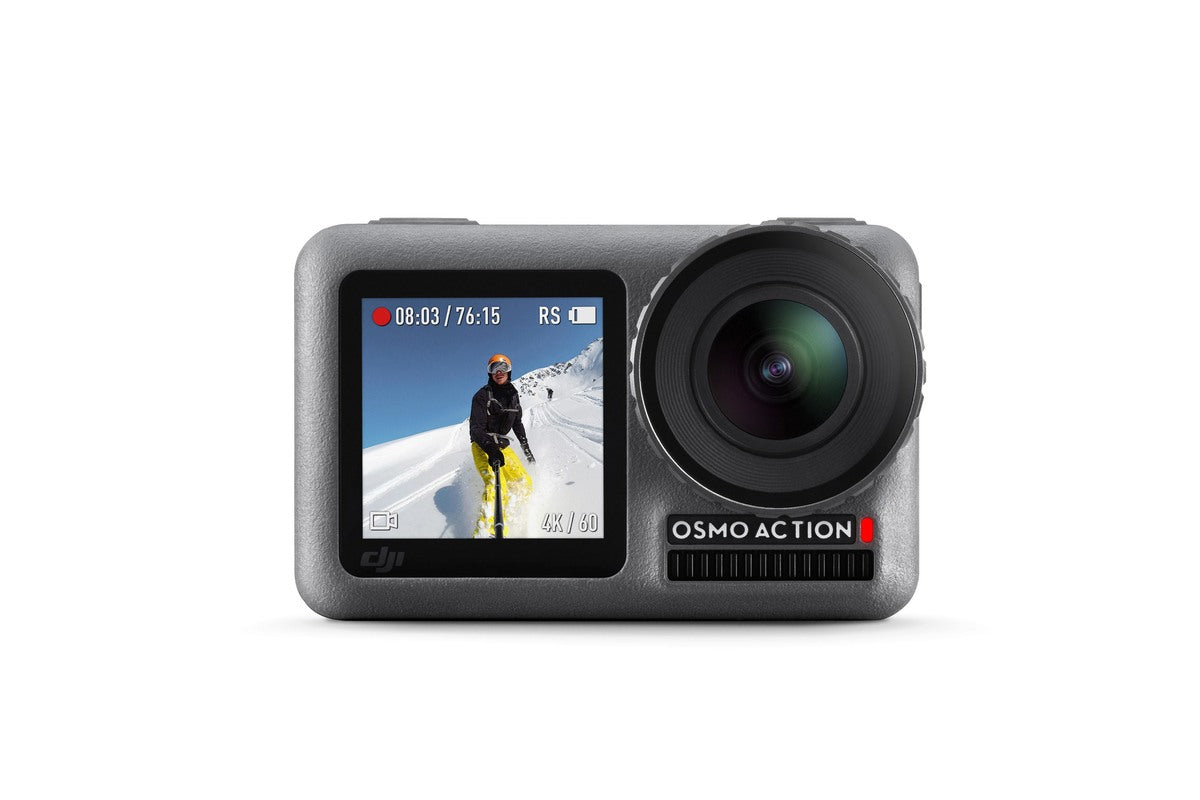
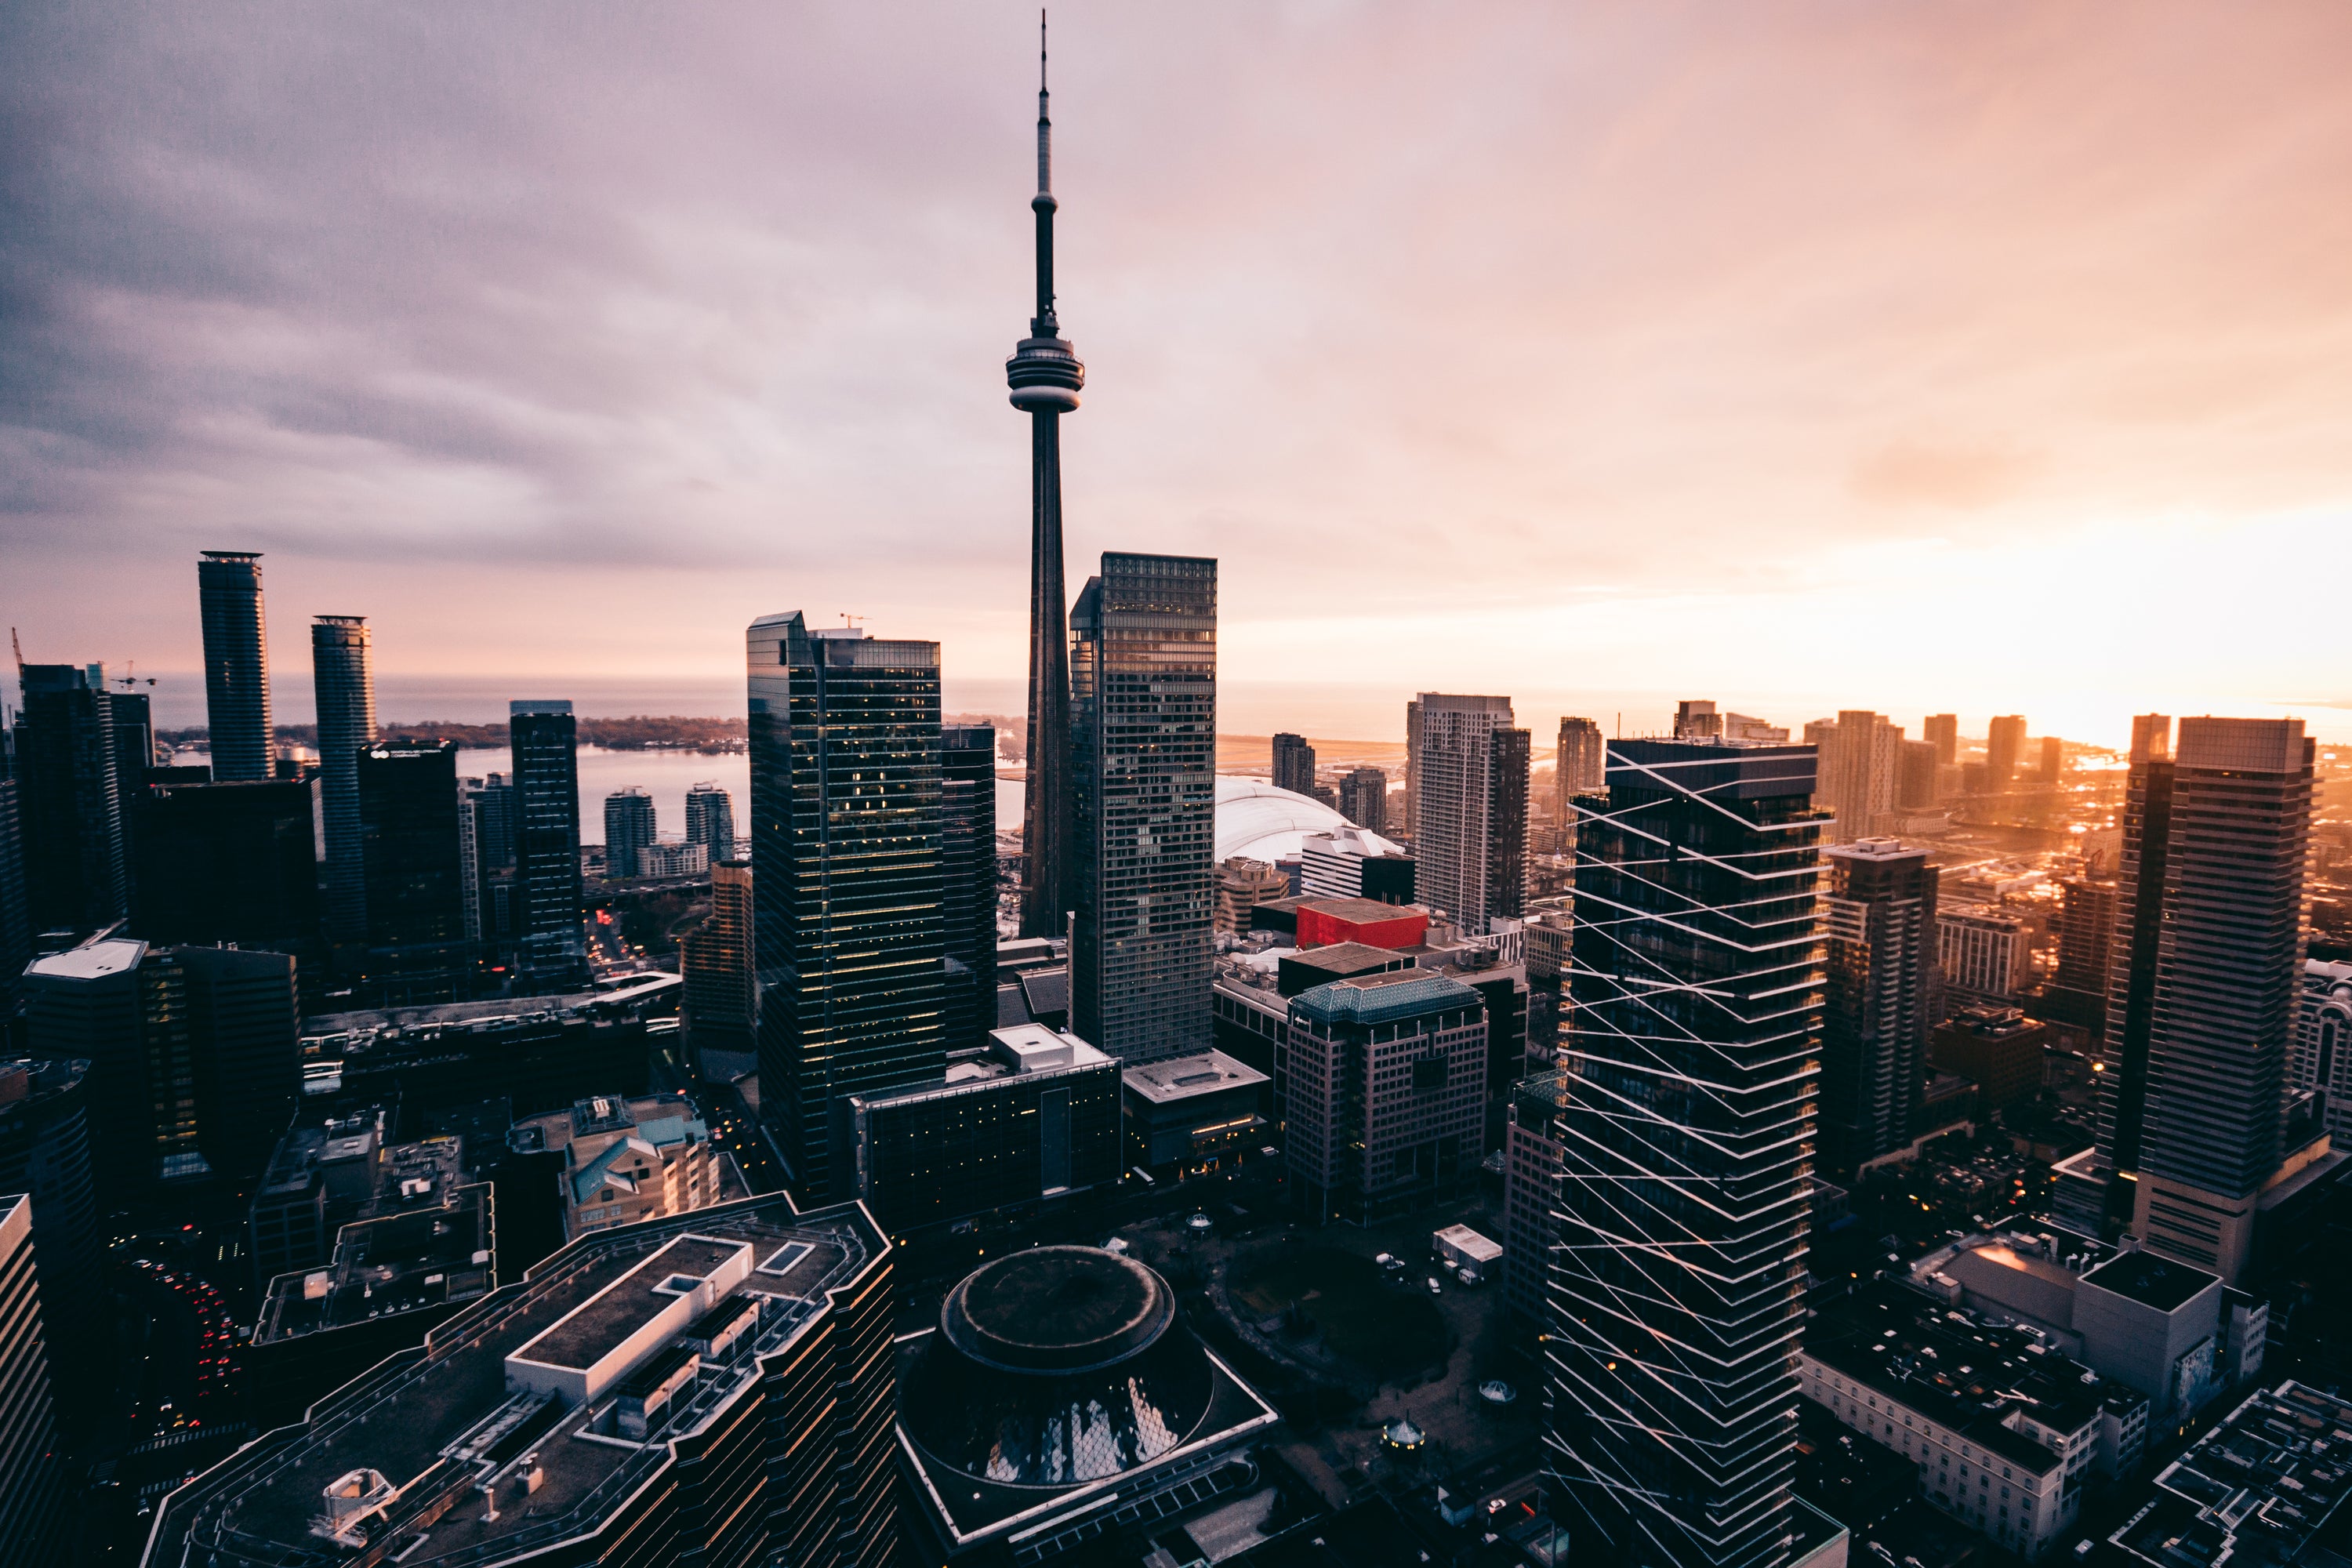
Osmo Action was designed to shoot dynamic footage not only during the day but also at night.
The mesmerizing lights of city traffic can provide a new creative perspective to your footage. Read on to discover some simple tips to capture compelling nighttime footage with your Osmo Action.
Important Safety and Caution Disclaimer
The following steps and content have been created in a controlled environment under professional supervision. Exercise extreme safety and discretion when operating a vehicle. DJI is not responsible for any injury or damage sustained from using Osmo Action with a moving vehicle.

1. Attach Osmo Action to a Vehicle
To add a unique vantage point to your Timelapse, we recommend attaching Osmo Action to a vehicle while recording. You can use an Osmo Action Adhesive Mount and Camera Frame to do so. Here are some examples of the content created with Osmo Action attached to all sorts of vehicles and set at differing angles:


2. Plan Your Route
The best conditions for shooting this type of Timelapse are straight routes with a lot of lights along the way. Additionally, it is best to avoid roads with too many traffic lights or busy traffic since long stops during recording will reduce the dynamic effect.
(footage)
3. Select Timelapse
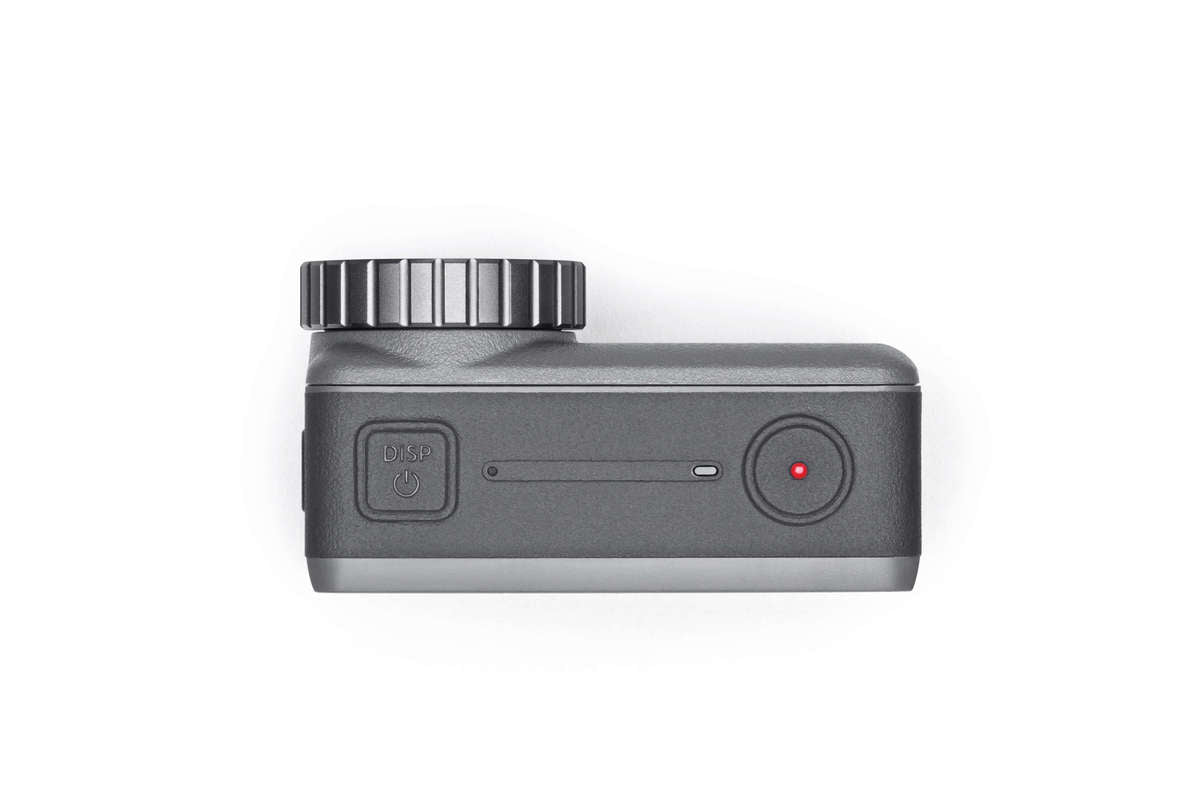
You can easily switch the shooting mode to Timelapse via Osmo Action’s back screen. After that, adjust the shooting interval and duration.
4. Set the Shutter Speed
To create a beautiful effect of blurred lights, we suggest you slow the shutter speed to 2-3 seconds.
If the image is too bright due to the slow shutter speed, you may want to use ND filters to help balance the brightness.
5. Start Recording
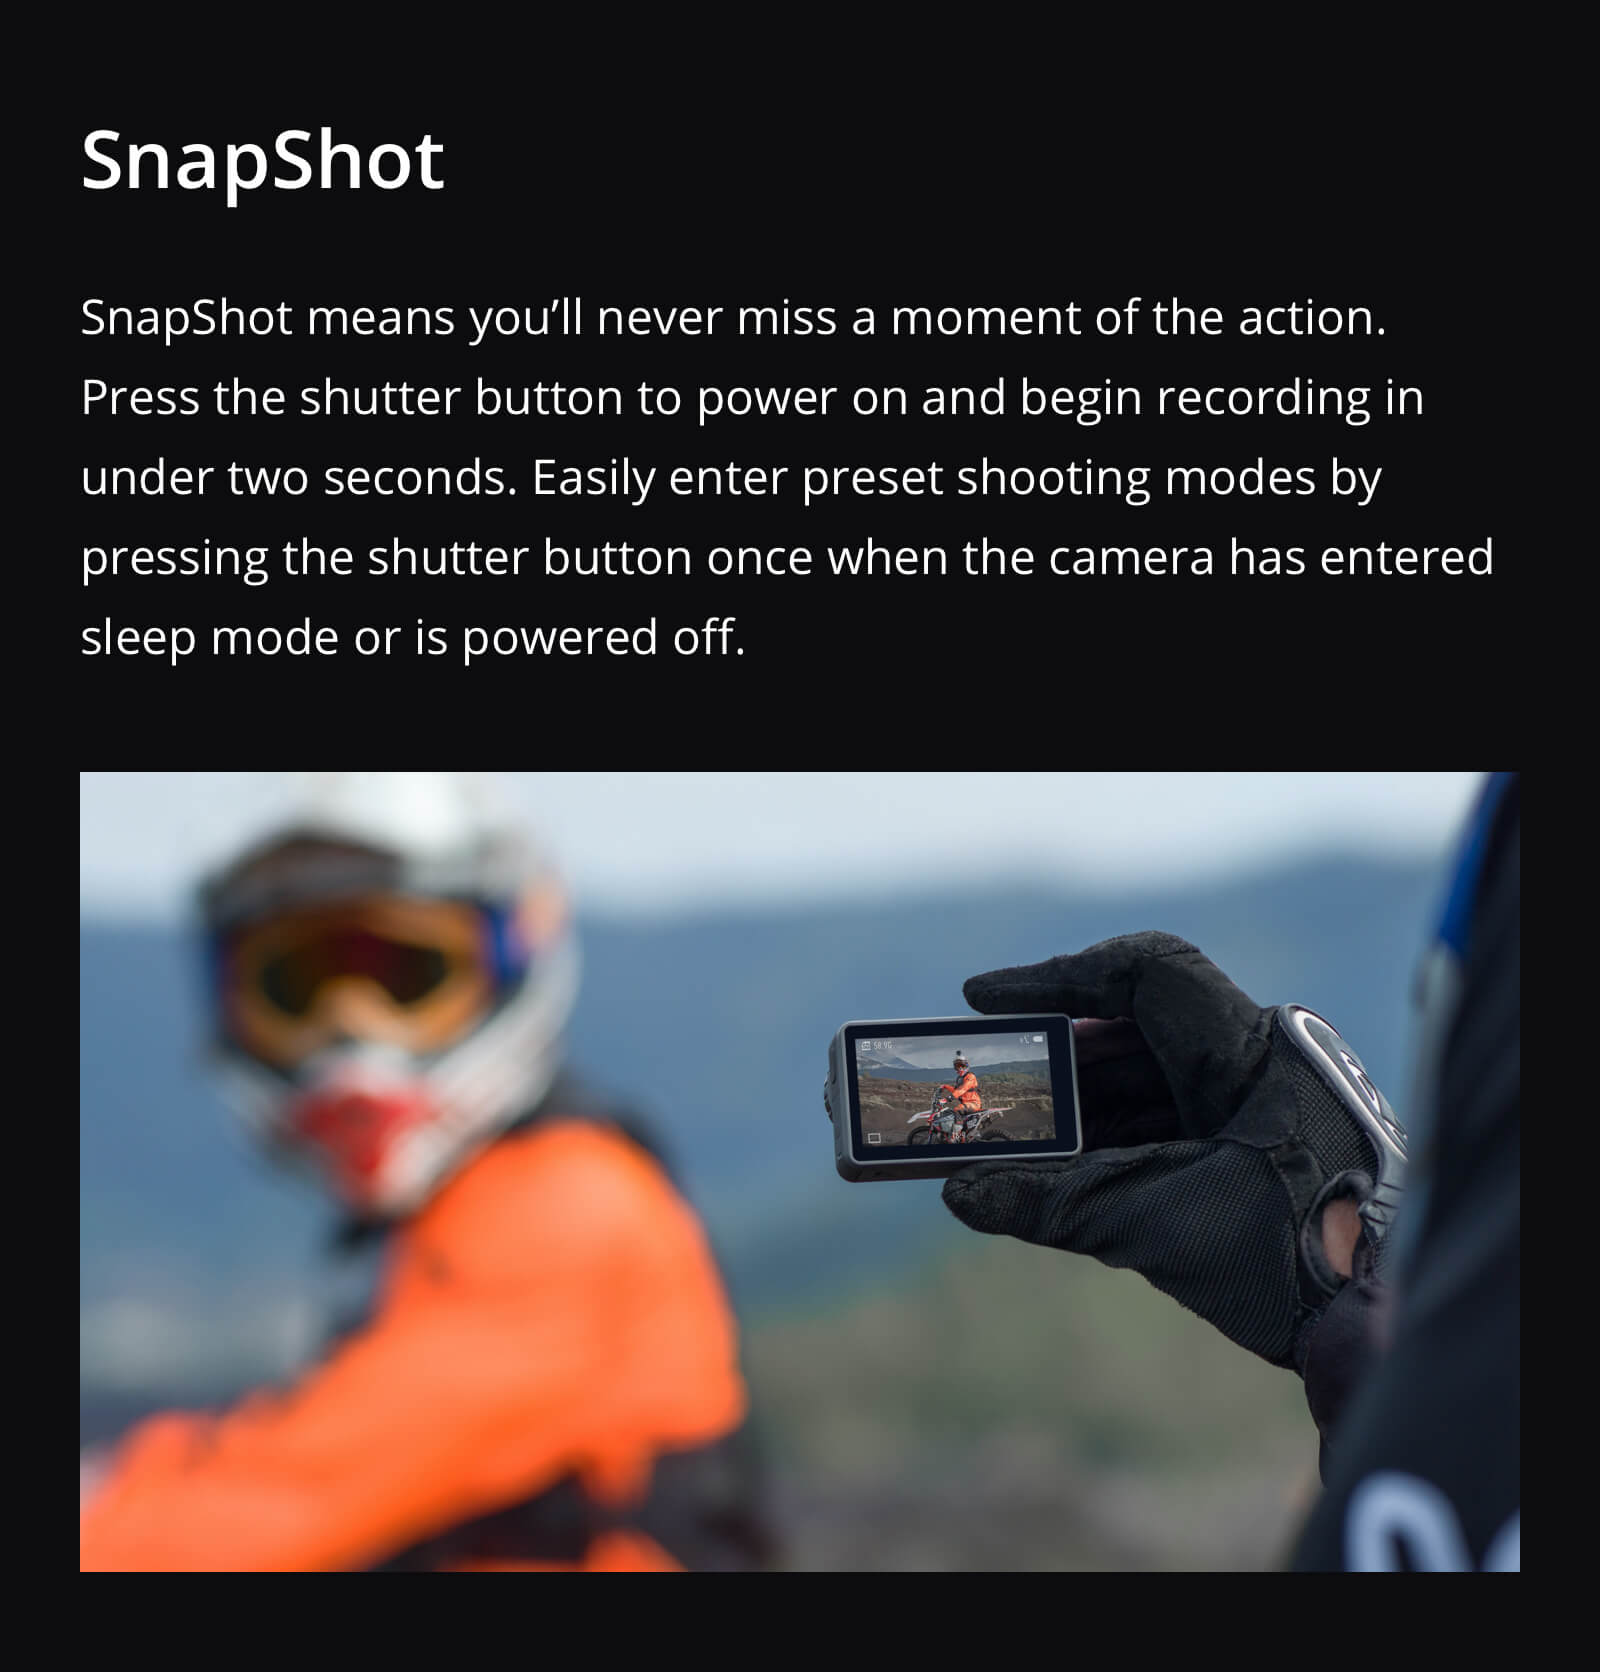
After you have completed the preparation, press the shutter button to start recording. After the recording is finished, Osmo Action will complete post-processing automatically.




* Results achieved in a controlled environment; performance may vary depending on environment, method of use, and firmware.
In The Box


